Making great coffee at home can be easy and can be affordable (less than $100 for tools). I really love Americano’s (also known as a Long Black). My local coffee shop sells a small Americano for $3. An Americano is just a double shot of espresso with hot water on top and at home can be made for around $0.35 per small cup, saving you $2.65 per cup and giving you much more flexibility with all of the beans choices out there.
With some added equipment, setup can also be used to make latte drinks.
Note on Espresso
What we’re making isn’t exactly espresso. Espresso is made with a fine bean grind and 6-8 bars of pressure (over 600 lbs of pressure). Real espresso is very costly to make (beginner machines costing more than $500 and beginner grinders costing more than $300) and requires much more precision when measuring beans and grind sizes.
We will be making a very strong coffee concentration that is cheaper to make and is much more forgiving if you’re lax on timing and grind size. Unless you’re an espresso snob, you won’t notice the difference and it will still taste better than your local Starbucks espresso.
Equipment
- Aeropress $35
- Aeropress reusable metal filter $10
- Javapresse hand grinder $45
- A kettle (I’m assuming you have one already)
- Coffee beans (I’m assuming you have this too).
Total $90
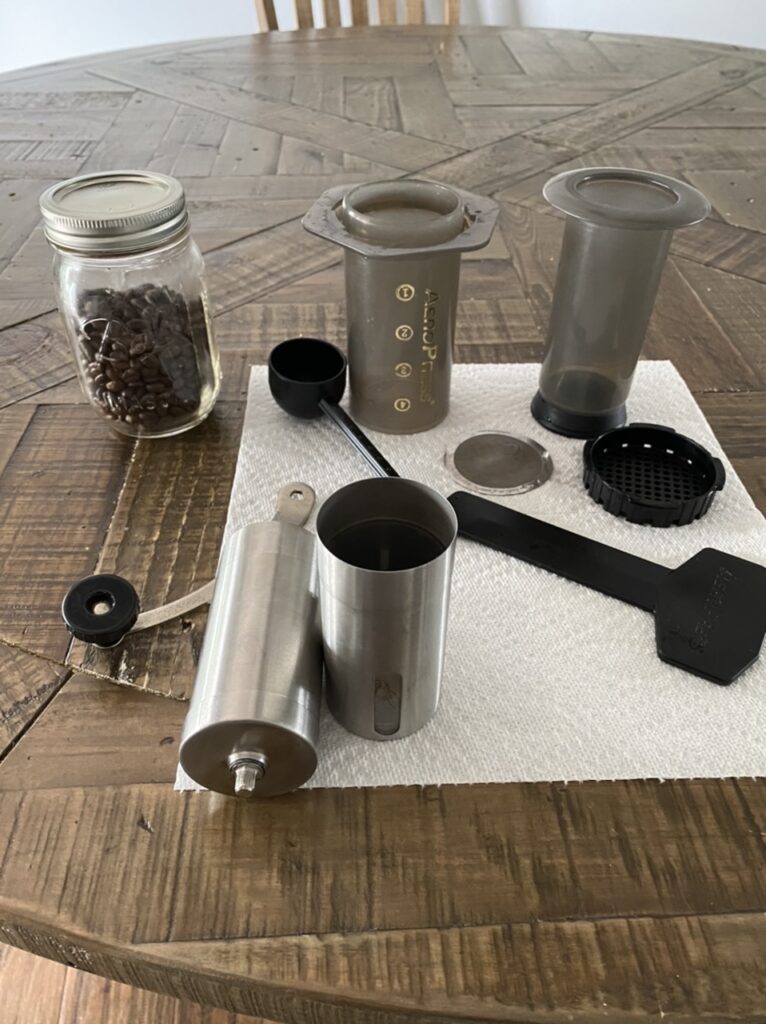
Optional
If you don’t have a kettle. Here is an electric one for $22.
If you like milk based drinks like lattes, here is an automatic milk frother for $40. Combining that with a sweetener like stevia and flavor syrup like chocolate, you can make lattes.
I highly recommend Coastal Blend by Coastal Coffee Roasters. They sell 5 lbs of whole bean coffee for $55. 5 lbs in grams is 2267.96 divided by 14 (14 g per cup for the recipe below) = 161 cups. $55 divided by 161 cups = $0.34 per cup.
Prep
The only prep to do is to set your grinder to a “medium fine” grind setting.
For the Javapresse, put the grind handle in place and hold it while tightening the black grind adjuster all the way clockwise. Don’t overtighten the knob, just tighten until it feels like you’re all the way down. Now, loosen the knob counterclockwise a total of 6 “clicks”.
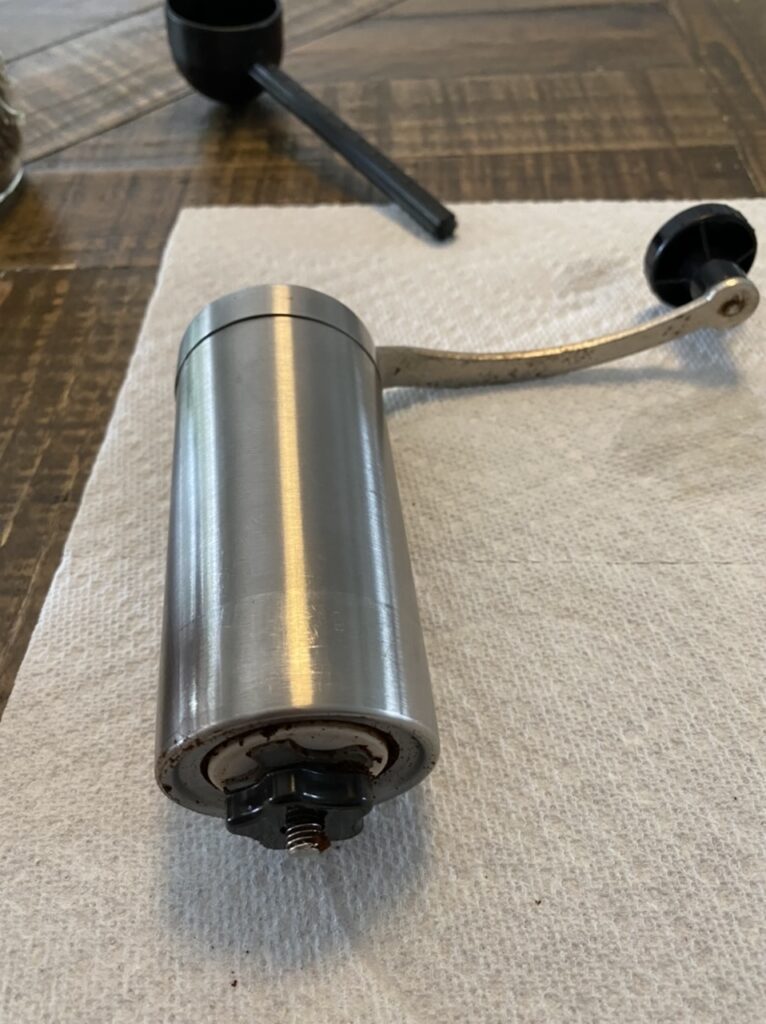
According to the manufacturer, below is a chart showing the different grind settings for the Javapresse
| Grind Type | Clicks | Types of drinks |
| Coarse | 13-18 | French Press, Cold Brew, Percolator, Coffee Cupping |
| Medium Coarse | 10-12 | Chemex, Drip Coffee Makers, Vacuum Pots |
| Medium | 7-9 | Pour Over Brewers (Including Ours), Aeropress |
| Medium Fine | 4-6 | Moka Pots, Pour Over Brewers, Aeropress |
| Fine | 1-3 | Espresso, Turkish |
Steps
Step 1: Grind your coffee and boil your water
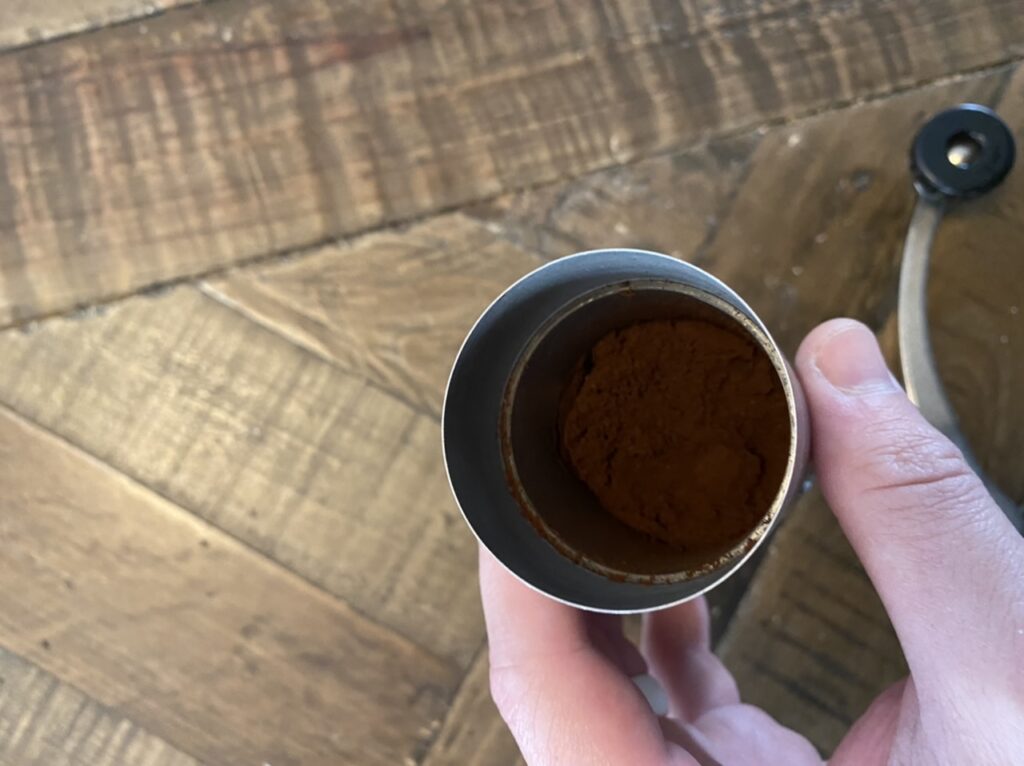
Using the Aeropress provided scooper put 1 rounded scoop (around 14g of beans) into your grinder.
At the same time start boiling water in your kettle.
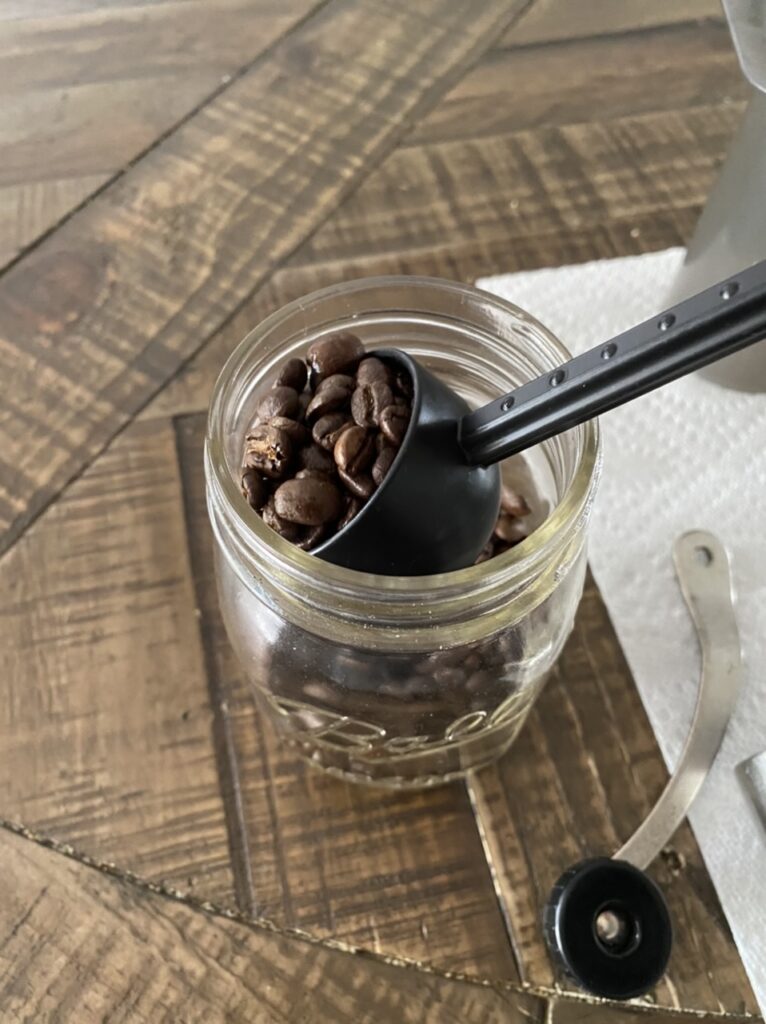
Then put the handle on your grinder and grind. This takes me around 5 minutes while also pissing around letting the dogs in and out 6 times and telling my 1 year old daughter no when she tries getting into the cabinets.
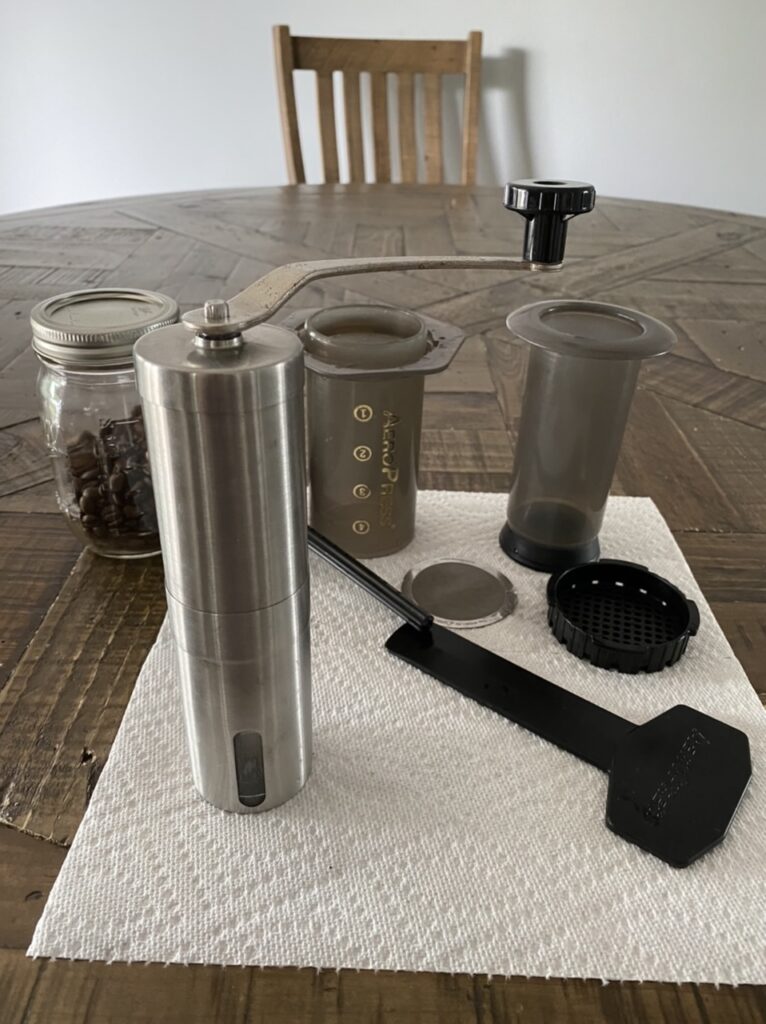
Step 2: Brew the coffee
I use the “inverted method” when using the Aeropress. Take the cap off and the metal screen out of the Aeropress. Pull the plunger down to 1.5. Flip the Aeropress over ready to add your grounds.
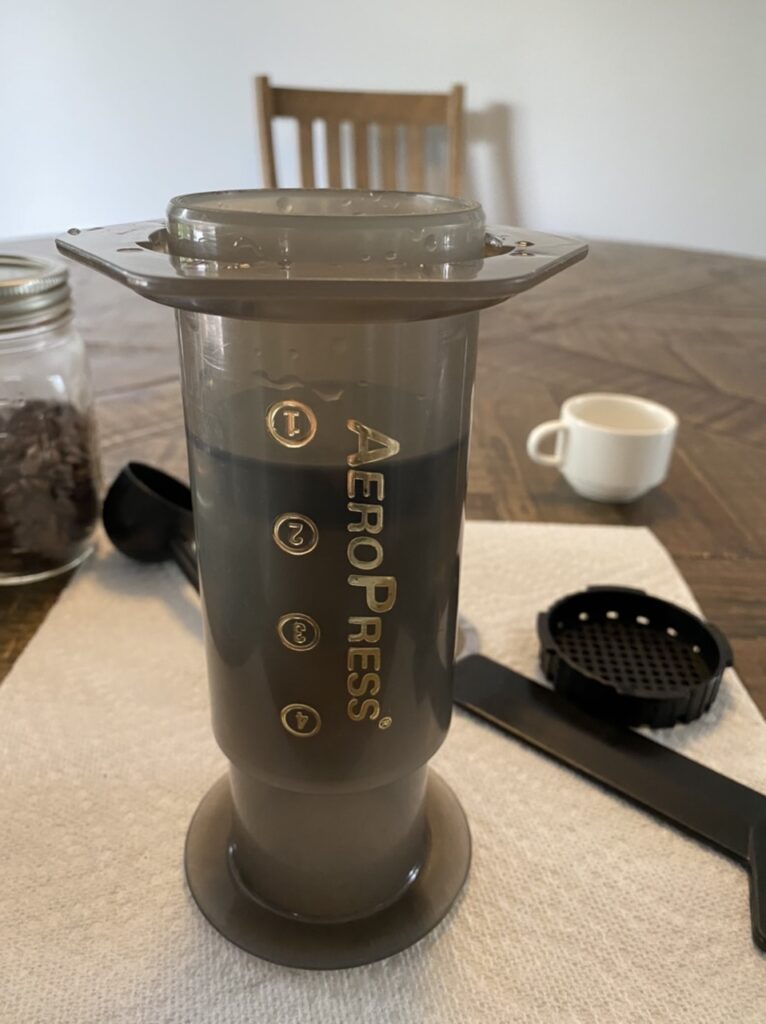
Add your grounds and fill with your hot water leaving a tad bit of room at the top.
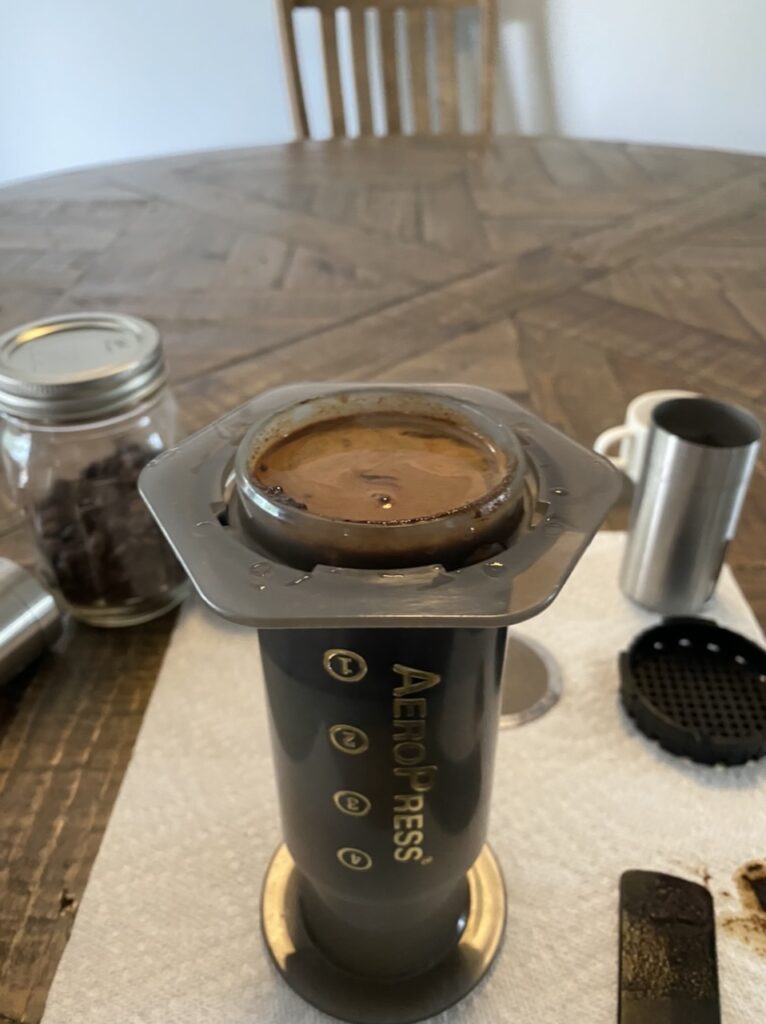
Once the water is filled start a timer. While the timer is running, carefully stir (making sure it doesn’t spill over) with the Aeropress provided stir stick.
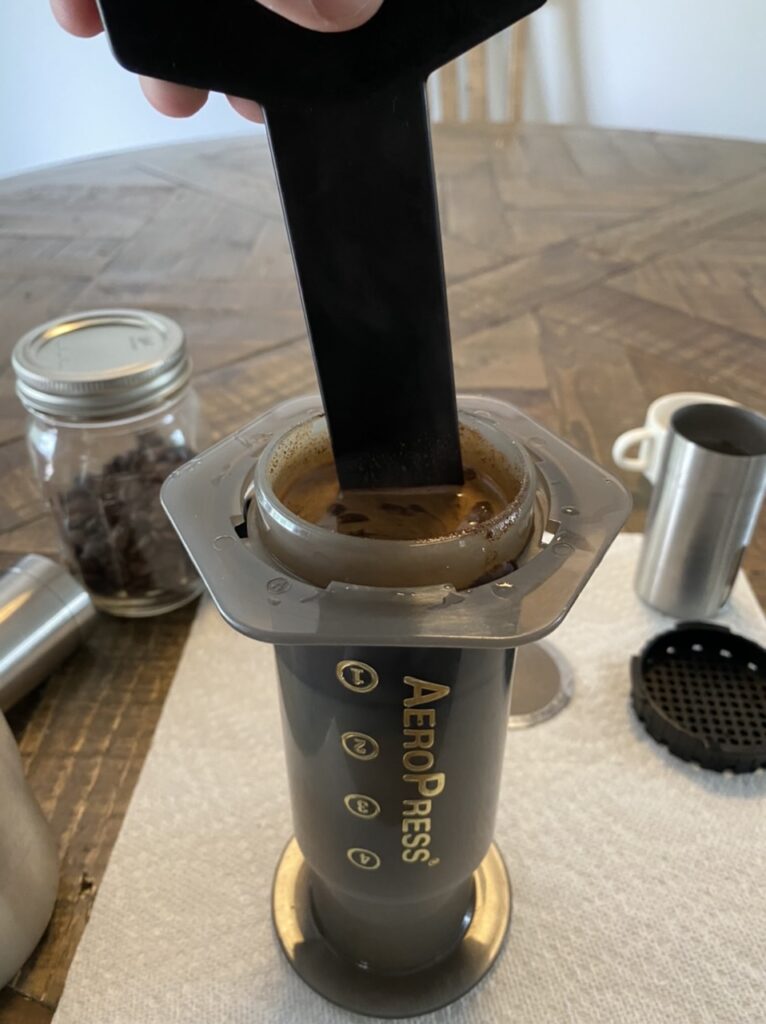
Once your timer hits 30 seconds, place your stir stick to the side, place the metal screen on top, and carefully twist on the cap being sure not to spill the coffee.
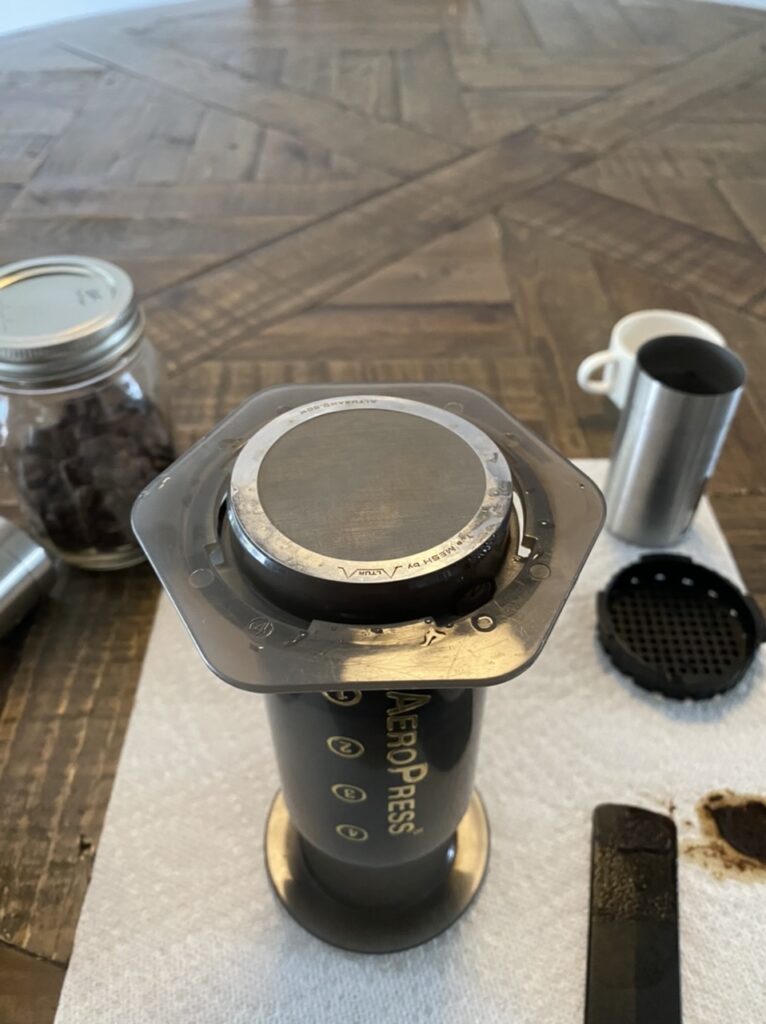
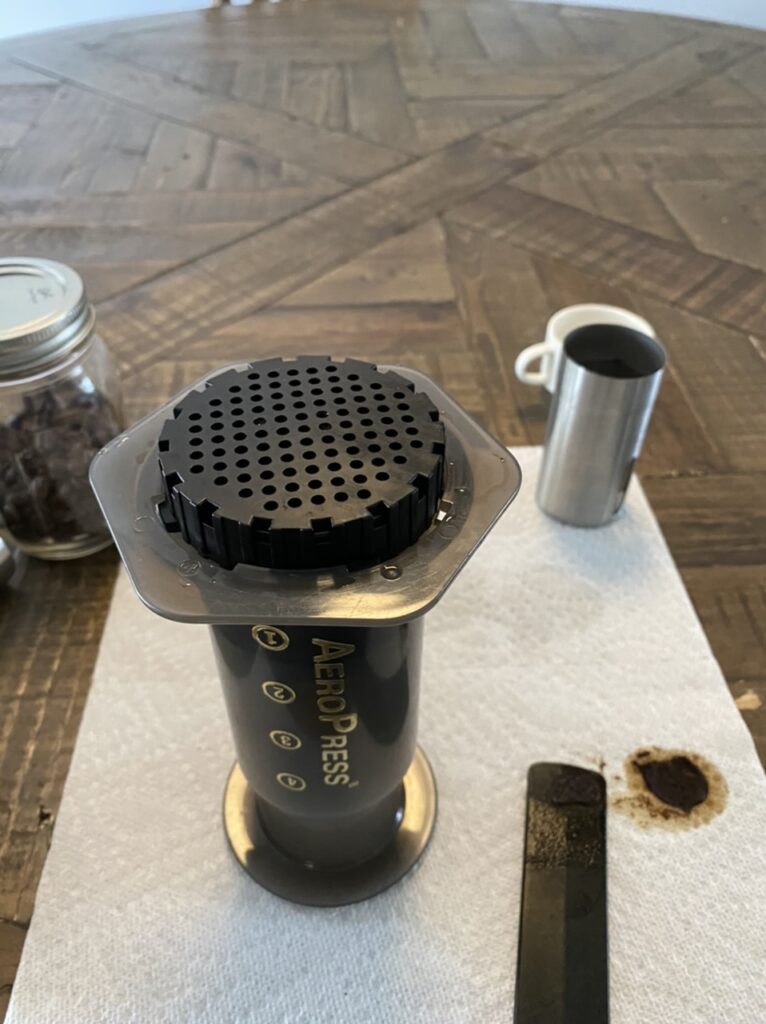
Now carefully flip the Aeropress over on top of your cup and press down hard and fast. Don’t go too hard and fast that you flip your cup and make a mess.
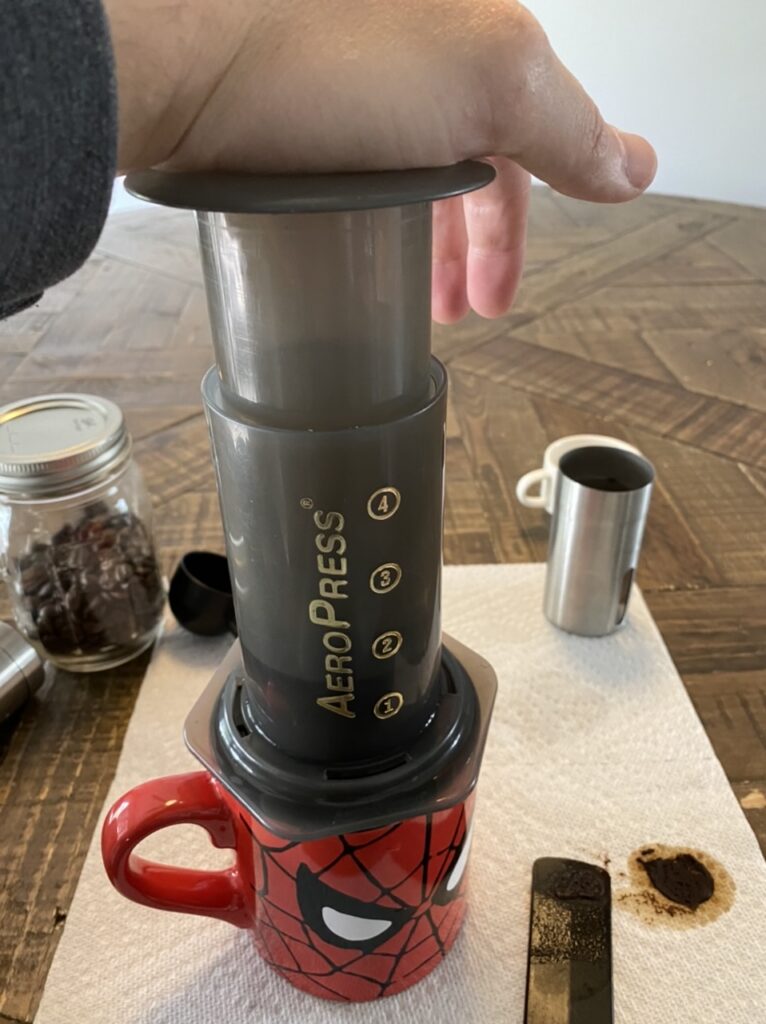
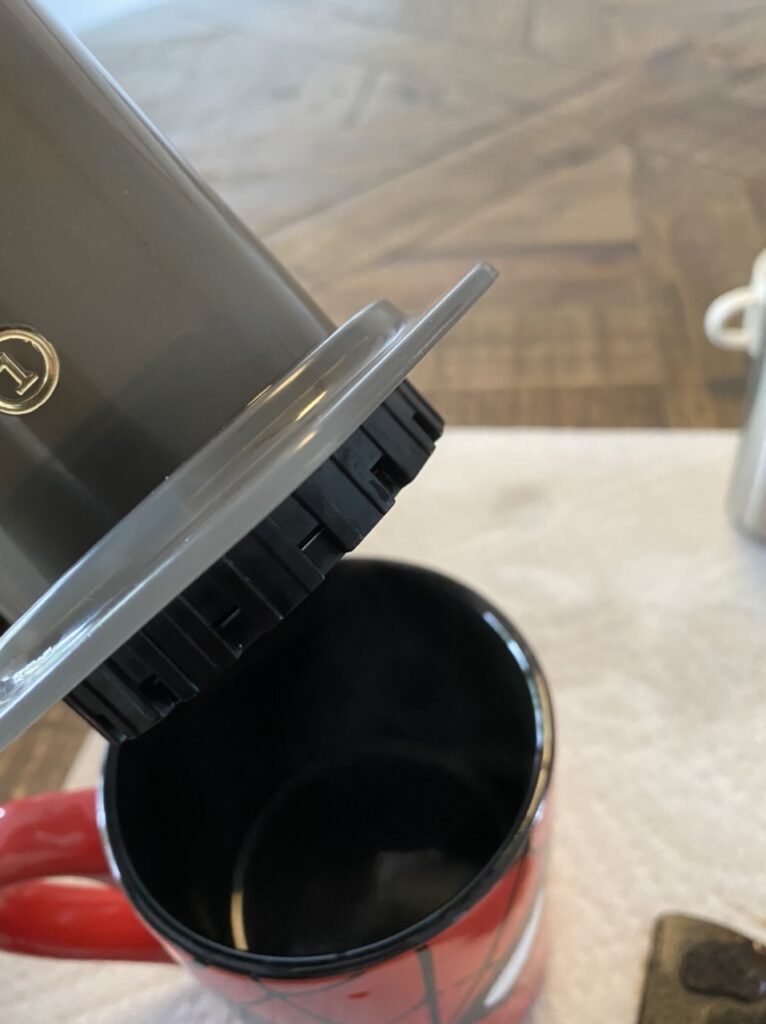
Once it’s pressed all the way down, you’re done! Carefully lift the Aeropress off the cup (some coffee will still drip off) and enjoy. You’ve just made a coffee concentrate that simulates a double shot of espresso.
Step 3: Add extra stuff
If you like Americano’s like I do, add hot water on top. If you enjoy lattes, add your frothed milk, sweetener, and syrup (chocolate, caramel, etc) as needed.
Cleanup
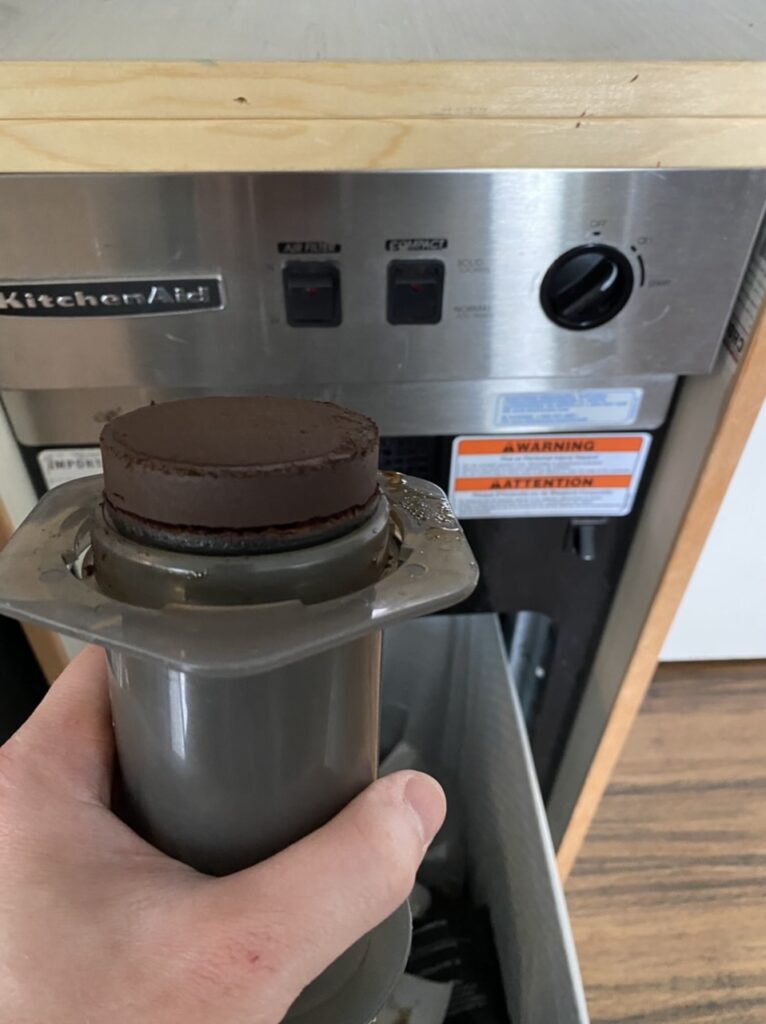
Cleanup with the Aeropress is very easy. Take the cap off and remove the metal filter, push your “coffee puck” into the trash can, and rinse the Aeropress off in the sink with water. DO NOT put the coffee puck down the sink. You will likely clog your pipes.
Final Thoughts
This whole process takes maybe 10 minutes. If you consider the time you spend getting in the car, driving to the coffee shop, and sitting in line, 10 minutes does not seem too bad.
You don’t have to be a barista to make good coffee at home. Coffee at home can also be better and cheaper than from a chain like Starbucks or even from your local coffee shop.
For full transparency, all amazon links are associate links. Meaning, if you click the link and make a purchase, I get a small kickback.
Thanks for reading and happy brewing!
Jacob Cody Wimer